Felting Human Hair
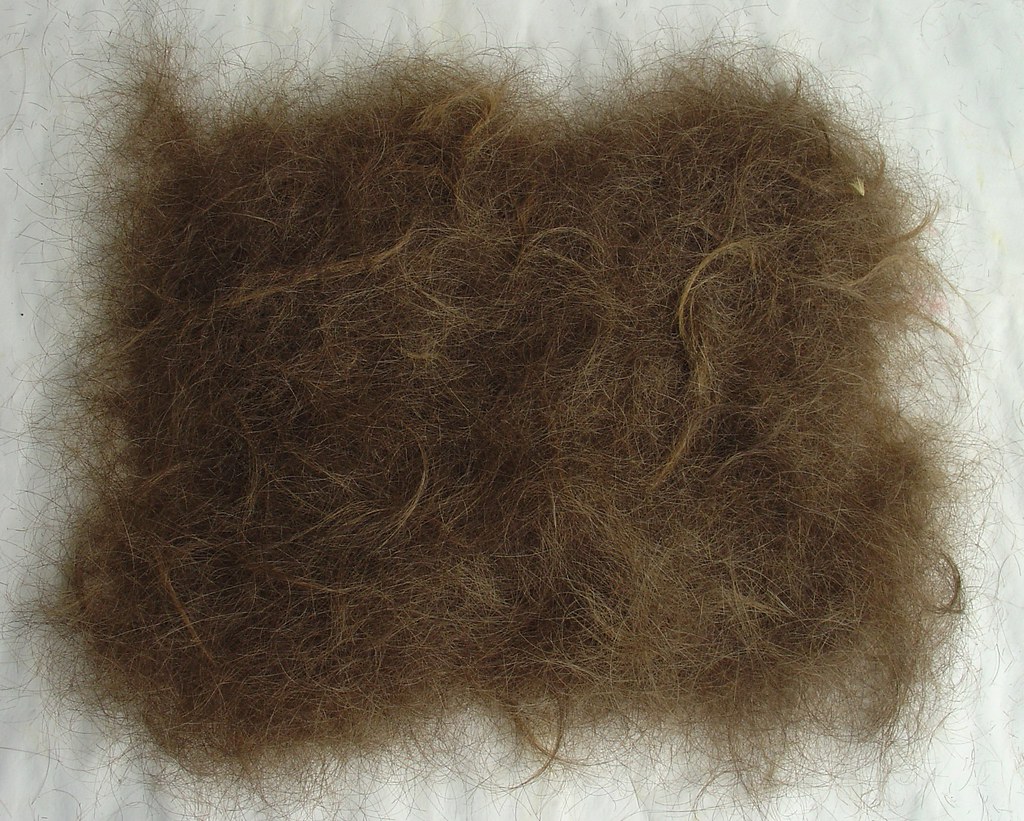
 Traditionally felt is made from finely textured animal hair. Hairs are covered with tiny scales (cuticle) which can be made to stand up due to dryness, dirt, or friction. Conditioner is designed to help the cuticle lay back down, rather than stick up and catch, causing tangles. Felt is made by stressing the hair with heat, harsh detergents, and friction. Rubbing stressed hairs against each other will cause the scales to catch and bind. The advantage of using fine animal hair, like wool, is that it will form a dense, even mat, the individual fibers becoming indistinguishable. Coarser hair, like human hair, will not form as nice a felt as wool, but it will felt. That's what dreadlocks are. Since human hair is so coarse it can't be treated like wool, which felts easily, requiring little more than hot water sometimes. Making felt from human hair is a slightly different process, almost like making a giant, flat dreadlock. Due to the stiffness of the individual hairs you might not be able to achieve a good, hard felt (I used my own hair, which is nearly as coarse as horse hair), but something between hard and soft is doable.
You need:
- as much hair as you can muster (longer is better, lengths under 1-1.5 inches will tend to fall out)
- bar soap
- warm water
- a water-safe, smooth, but uneven work surface (a tile floor would be ideal, or an old-fashioned washboard)
- an iron
2. Take small handfuls of hair and rub them against your work surface to form a sparse, flat, tangled mat. You should do this until the hair looks frazzled. A slightly dirty work surface might actually help at this point (more friction).
3. Once all the hair has been rubbed into flat little mats, wet your hands and soap them. Then rub each mat of hair between your palms until it stiffens. If they seem to fall apart too easily, try using less hair. Think of that nasty clump of hair you're always pulling out of the drain. These are just glorified versions of the same.
4. Lay these loosely felted mats together in the shape you want, two or three layers deep. Try to spread it as evenly as you can. The mats will be full of holes, which you can fill with smaller mats.
5. Gently rub each piece into its neighbors as you add it. Add dry hair between pieces if they don't seem to want to be friends.
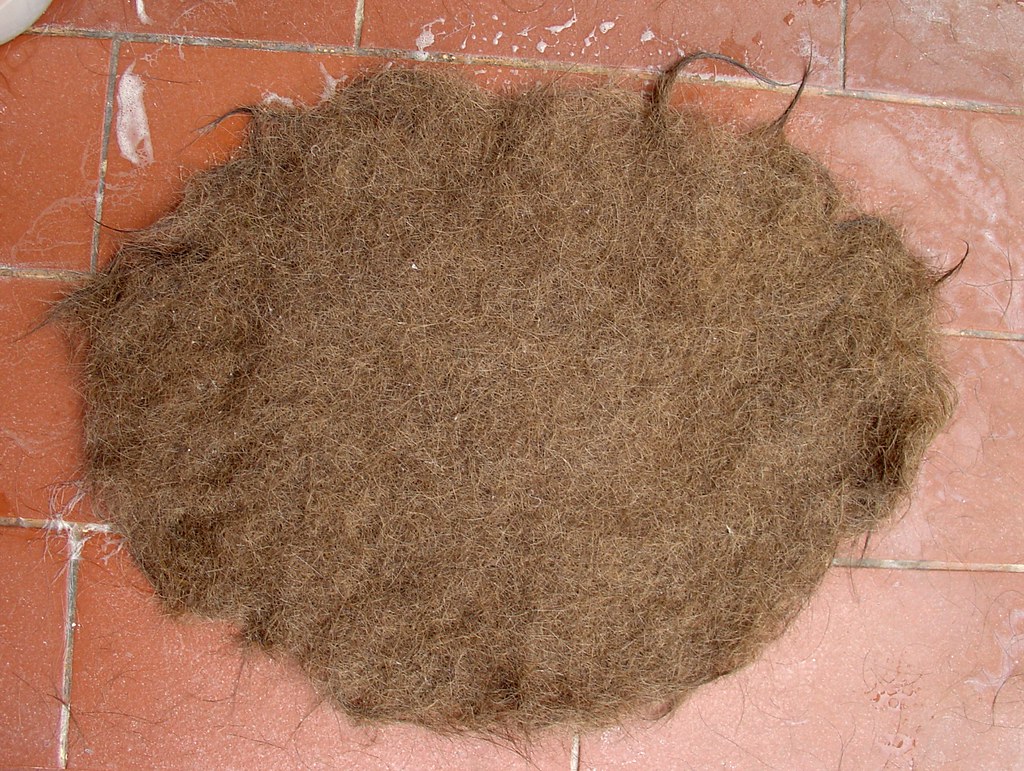
6. Your piece should be nice and soapy at this point, but fragile. Rub it on your work surface, moving from the outside in until all the individual pieces have joined together. Once your piece is holding together well begin flipping it over every once in a while. After a few minutes you should have something like the second picture below.
7. If your piece is holding together well give it a rinse with cupfuls of hot water. Pick it up and look through it to see how thick it actually is, and to identify thin spots.
8. Return the piece to the work surface and soap it up again. Continue rubbing from the outside in, also working toward (but not directly on top of) the thin spots. If you have extra hair you can add to the thin spots do so now, before the fulling process is too far along.
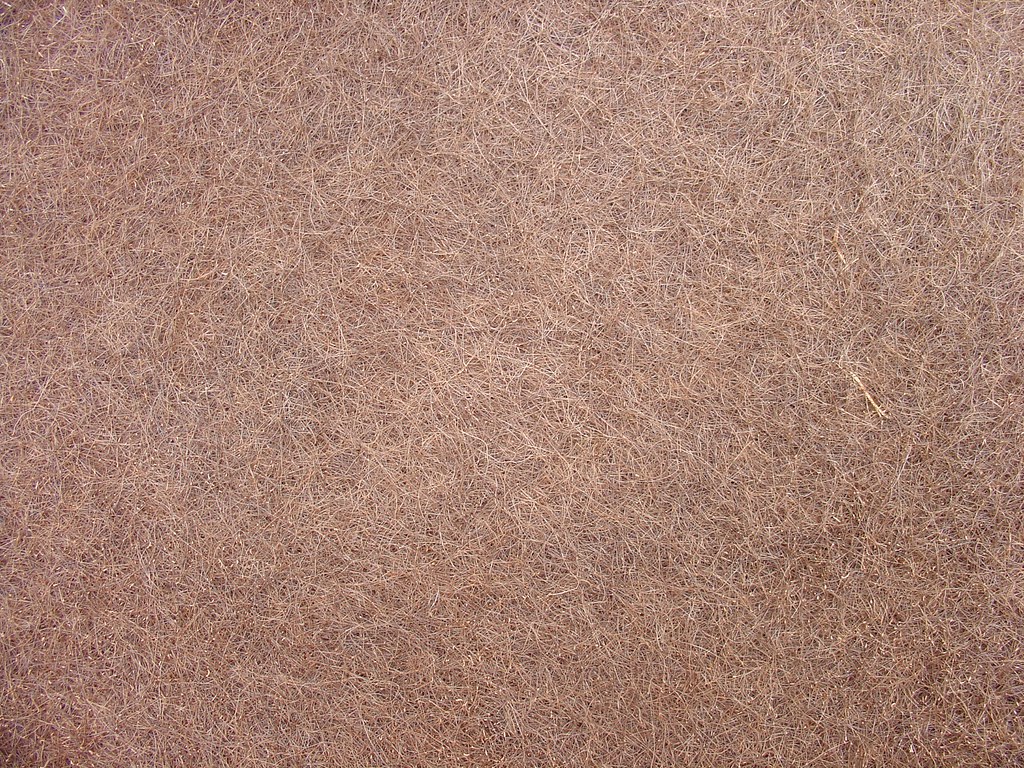
9. Continue fulling until the felt is an even thickness (it naturally wants to be about 1/4 inch), and hard. It should be 1/2 to 1/3 the size of the piece you started with.
10. Rinse the piece again with warm water, and iron out the extra water. Use the iron to smooth the surface.
11. If the felt seems to have too many little hairs sticking out (this will depend on the stiffness and length of the hair used), you might try burning them off while the felt is still damp, then ironing off the burnt ends.